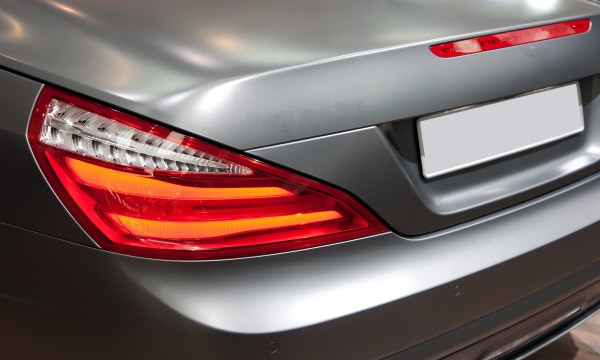

Follow these steps, you will find replace a busted taillight is no longer difficult.

1. Find a replacement light
Finding a replacement taillight assembly is relatively easy.
- Most automotive parts companies sell low-priced offshore “knockoffs” of the original equipment (OEM) parts.
- Similarly, many car dealers have easy-to-navigate websites that sell OEM parts at discounted prices.
If you’re okay with an “aftermarket” version (i.e., it “looks” like the original part, but wasn’t produced by the manufacturer of your vehicle) make sure the seller lists it as CAPA certified.
- A CAPA-certified part is guaranteed to fit and perform like the original, but usually costs a fraction of the price.
2. Determine how your taillight is attached
Car manufacturers generally use two different techniques to attach taillights to the car body.
Threaded studs
The first method uses threaded studs embedded in the taillight. These studs are inserted into holes in the sheet metal and fastened with nuts.
Captive stud/socket fasteners
Screws are used for the second method to secure one end of the light, while captive stud/socket fasteners hold the other end in place.
3. Remove and replace the old taillight
To remove the taillight if it’s attached with threaded studs:
- Locate the nuts and remove them from the threaded studs using a deep socket and ratchet.
To remove the taillight if your vehicle has the captive stud/socket arrangement:
- Remove the screws from the trunk or lift-gate side of the taillight. They are usually hidden under covers.
- With a wooden or plastic tool, pry the stud out of the socket. Don’t use a screwdriver, since you may scratch your car’s paint.
After the taillight assembly is disconnected:
- Release the catch mechanism and twist it to remove the lightbulb sockets.
- If you haven’t replaced the bulbs in the past two years, do it now while everything is apart.
- To install your new taillight, after replacing the bulbs, follow these steps in the reverse order.
Even if you’ve never replaced a broken taillight before, by taking your time it’s something you can do fairly easily at a fraction of the cost with just a few simple tools.


Recent Comments